olansi logo blue 4

W51G Pipeline Water Dispenser Product Instruction

w51

Product parameters (W51)

Product nameReverse Osmosis Water Dispenser
Product imagew51 white 4 副本w51管线机 3 副本w51c 2 副本
Product modelW51W51(G)-PipelineW51C
Rated voltage/frequency110V/60Hz220V-240V~; 50Hz/60Hz220V-240V~; 50Hz/60Hz110V/60Hz220V-240V~; 50Hz/60Hz
Rated power1600W2200W2200W150W150W
Rated heating power1500W2100W2100W
Rated cooling power70W70W70W90-120W90-120W
Chilled water capacity0.5L/h(≤15℃)0.5L/h(≤15℃)0.5L/h(≤15℃)1.2L/h(≤12℃)1.2L/h(≤12℃)
Water heating capacity12L/h(≥90℃)18L/h(≥90℃)18L/h(≥90℃)
Water production flow15.6L/H15.6L/H15.6L/H15.6L/H15.6L/H
Working pressure0.4~0.6MPa0.4~0.6MPa0.4~0.6MPa0.4~0.6MPa0.4~0.6MPa
Applicable water sourceCity waterCity waterCity waterCity waterCity water
Applicable water temperature5-38℃5-38℃5-38℃5-38℃5-38℃
Water tank capacity4.8L4.8L4.8L4.8L
Net weight8.7 kg8.7 kg7.6 kg8.7 kg8.7 kg
Gross weight12.2kg12.2kg10.4kg12.2kg12.2kg
Dimensions417x231x376mm417x231x376mm417x231x376mm417x231x376mm417x231x376mm

Schematic diagram of products

w51 schematic diagram 2
W51 With water tank
w51 schematic diagram 3
W51G-Pipeline

Product function introduction

w51 body control panel 1 w51
W51G Machine operation panel

Make sure that the product has been installed and activated as required by the installation guidelines.

Operation guideline

7operation guideline
Step 1: Place water purifier in flat place such as desktop or cabinet countertop;
3operation guideline
Step 2: Plug the power plug into the AC power supply (230V~ 50Hz) socket, power on, and long press “Power” for two seconds to turn on the machine, and then the machine will start backwashing the filter element, and producing water by itself. Please wait patiently for about 5 minutes;
4operation guideline
Step 4: Rinse the filter element. In order to obtain excellent water quality and mouthfeel, Long press 3 seconds “Flushing” into the rinse mode, began to carry out the cartridge rinse, the outlet placed at the receiving container (such as: bucket, etc.) to receive water, until “Flushing” no longer flashing after this time, the smart wash is complete.
8operation guideline
Step 4: Pull out the plug at the rear of the machine and place a container (such as a bucket) at the outlet to connect it. Wait for the water in the cold tank to be drained, then plug the plug and secure the Lanca.
6operation guideline
Step 5: Power on again for ice water activation, and place a water container at the water outlet (such as: a bucket, etc.) to receive water, click the " ICE " button to exhaust the air first. If there is water coming out of the water outlet within 30 seconds, the ice water will be activated successfully.(Note: During the activation period, the machine is working normally, please do not power off. It is normal to produce abnormal air spraying noise during the period)

Plug removal steps

1 plug removal steps
Step 1: First pull out the lanca
2 plug removal steps
Step 2: Then press down on the latch with your finger or a screwdriver
3 plug removal steps
Step 3: At the same time, pull out the plug with the other finger

Notice (W51G):
1. When taking hot water, do not reach under the water outlet to avoid burns.
2. In order to prevent dry burning, when the machine is powered on for the first time to get hot water, please first make normal temperature water flow out for a period of time, and then let hot water come out.
3. When the water comes out, if you touch any water temperature button, the water release will be stopped.
4. During the draining process, a small portion of water will seep out along the perimeter of the spout, please wipe it with a dry cloth.

Waterway Installation Diagram

7operation guideline
1waterway installation diagram
1. After taking the product out of the packing box, place it inflate place, such as the desktop or cabinet counter top.
2waterway installation diagram
2. Take out the inlet ball valve, install it on the angle valve to connect PE water pipe and install it on the inlet at the rear of the host. (Note: PE pipe should be inserted tightly
3waterway installation diagram
3. Connect the pipeline according to the stage installation schematic diagram (as shown in the right, see the stage waterway installation diagram for big picture)
4waterway installation diagram
4. Concentrated water can be discharged directly into the sewer or recycled.

Guidelines for Disassembly and Assembly of the Filter Element

w51g 1 guidelines for disassembly and assembly of the filter element
Step 1: Disconnect the power, open the water tank cover, and push the top cover of the machine backwardly.
w51g 3guidelines for disassembly and assembly of the filter element
Step 2: Rotate the filter element counterclockwise and take It out upward;
w51g 4guidelines for disassembly and assembly of the filter element
Step 3: Assemble the new filter element and rotate it clockwise to tighten it;

Step 4: Press and hold the key “Filter element reset” for 3 seconds to enter the filter element selection, and the indicator flashes. Touch the cycle to select the filter element 1-2, with the selected filter element flashing. Press and hold again for 3 seconds to reset the service life of the filter element.

Note: Original filter element must be used for replacement so as to ensure the safety of drinking water. For any abnormal situation during the replacement of filter element, please contact the customer service center in time.

Moving the machine

If you need to move the machine, please drain the water first to avoid water leakage causing damage to the equipment during the bumpy transportation process.
12moving the machine

1. Lift the raw water tank, pour out the water in the water tank, and dry the raw water tank.
2. Long press“Flushing”+“Water output” empty the machine’s pure water tank after 180 seconds.
3.Pull out the plug of the cooling tank, empty the water in the cooling tank,and then put the plug well.

Maintenance of the Machine

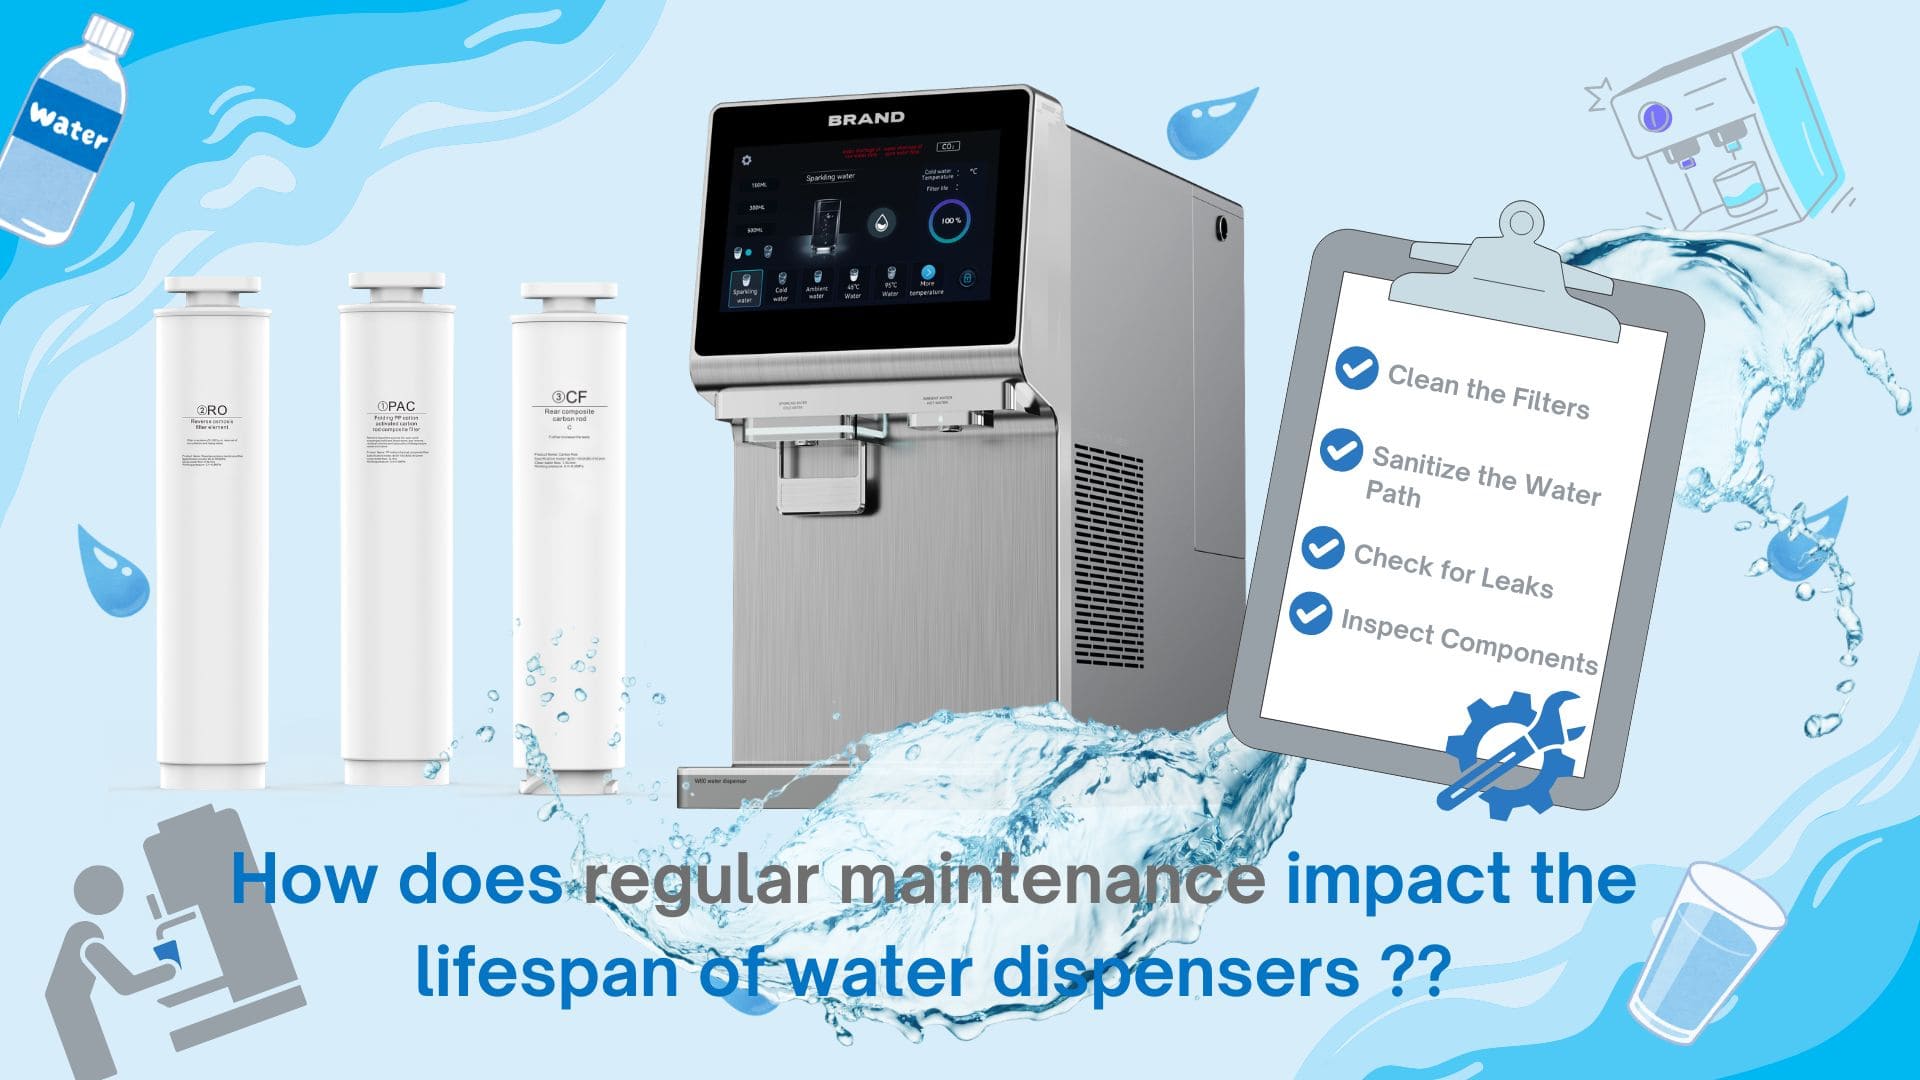
In order to confirm that your reverse osmosis machine can operate normally, please perform regular maintenance.

1. Regular Cleaning of the Equipment
If the equipment has not been used for a long time, please perform a smart wash and rinse before re-use (see 3.3 Function Operation Guidelines for details); in addition, in order to obtain better mouthfeel, it is recommended to perform a smart wash operation regularly once a month.

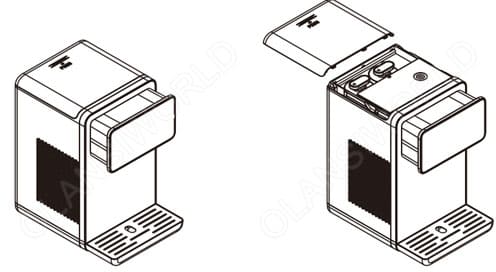
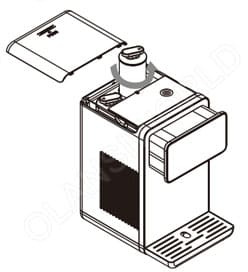
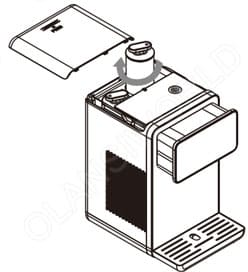
2. Replacing the Filter Element
There is no need to replace the filter element for the first installation and use of the machine. When the recommended service life of the filter element expires, please replace it with a new filter element.

Function of filter element

Filter element for shortType of filter elementFunctionRecommended replacement period
PACFolding PP cotton activated carbon rod composite filterRemoval of impurities such as silt, rust, sand, suspended solid and blood worm;removal of residual chlorine and absorption of disagreeable tastes and odors.6-12 months
ROReverse osmosis filter elementFilter precision of 0.0001 μm, removal of incrustation and heavy metal12-24 months

W60 Related Videos​

W51 Installation

How to Use the W51

More Posts

Table of Contents

请在浏览器中启用JavaScript来完成此表单。
OLANSI
OLANSI HEALTHCARE CO.,LTD
WhatsApp
邮箱

Need Help?

I’m Here To Assist You

Something isn’t Clear?


Feel free to contact me, and I will be more than happy to answer all of your questions.

WATER & Air Purifier Market Size, Share, Analysis, Forecast
Price Value $4000+

Enter you email below, so we can send you this valuable report.