olansi logo blue 4

How to use OLANSI’s W9 water purifiers?

W9 Water Purifiers Product Instruction

w9

Technical Specifications

Model No.W9
Water production capacity1000 GPD
Rated total pure water4000L
Rated voltage/frequency220V~/50Hz
Rated total power160W
Purified water flowPure water ≥ 2.6L/min, hydrogen-rich water ≥ 1L/min
Working Pressure0.6-0.8MPa
Inlet pressure0.1-0.4MPa
Applicable water temperature5°C-38°C
Net weight15.8kg
Product size420x170x420mm

Precautions

In order to ensure the safety of use and avoid injuries and property losses to you and others, please be sure to observe the following safety precautions. Failure to follow safety warnings may result in accidents. Special note: the first time on the heating, the machine will not heat up the room temperature water, to prevent the heating tube from dry burning.
precautions w9 1 1
1. If the supply cord is damaged, it must be replaced by the manufacturer or professional personnel from the maintenance department, to avoid danger. Avoid squeezing, folding, knotting or damaging the power line.
precautions w9 2 1
2. Avoid storing the product in places with strong sunlight, which may easily cause aging of product components, and avoid storing or exposing the product in an environment below 0°C.
precautions w9 3 1
3. The product must be installed or removed by professional personnel. The removal of parts of the product without authorization is easy to damage the product or cause electric shock. The moving and handling without authorization may easily cause improper operation and damage the purifier.
precautions w9 4 1
4. When the inflow water does not meet the municipal tap water standard (including large silt content and excessive residual chlorine, etc.), a pretreatment device should be installed in front of the product.
precautions w9 5
5. The best working pressure of this product is 0.6-0.8 MPa. If this water pressure is higher or lower than this value, please install a pressure boosting or reducing device accordingly.
precautions w9 6
6. In case of any failure, please cut off the water source immediately and contact the local distribution service network.
precautions w9 7
7. When the ambient temperature is too low, the flow rate will decrease, which is an inherent characteristic of RO membranes.
precautions w9 8
8. The strong magnetic appliances nearby may cause fire product damage or circuit failure.
precautions w9 9
9. Wet or dusty areas may cause circuit damage.
precautions w9 10
10. Do not place any heavy articles on the product.
precautions w9 11
11. Please cut off the power and close the three-way ball valve in case of water failure or pipe maintenance. When restoring water supply, please open other taps to drain the silt before opening the three-way ball valve; otherwise, otherwise a large amount of silt may block the filter element.
precautions w9 12

12.
For IEC:This appliance is not intended for use by persons (including children) with reduced physical, sensory or mental capabilities, or a lack of experience and knowledge, unless they have been given supervision or instruction concerning use of the appliance by a person responsible for their safety. Children should be supervised to ensure that they do not play with the appliance. If the supply cord is damaged, it must be replaced by the manufacturer, its service agent or similarly qualified persons in order to avoid a hazard.
For EN: This appliance can be used by children aged 8 years and above and persons with reduced physical, sensory or mental capabilities or a lack of experience and knowledge if they have been given supervision or instruction concerning use of the appliance safely and understand the hazards involved. Children shall not play with the appliance. Cleaning and user maintenance shall not be made by children without supervision.

precautions w9 13
13. Please do not connect the booster transformer to the power plug.
precautions w9 14
14. When cutting off the power, do not pull out the power line directly to avoid breakage.
precautions w9 15
15. Keep the power plug clean and avoid unplugging it with wet hands.
precautions w9 17
16. Please do not place flammable and volatile substances near this purifier.
precautions w9 19
17. Please keep the product away from a heat source or open fire.
precautions w9 21
18. Clean and replace filter elements regularly.
precautions w9 23
19. Be sure to use the accessories provided by the company.
precautions w9 16
20. It is normal for the product to generate slight vibration and noise when producing water.
precautions w9 18
21. Install the product as close to a floor drain as possible.
precautions w9 20
22. If not using the product for a long time, please cut off the power and close the three-way ball valve. When using the product again, drain water for 3–5 minutes before normal use.
precautions w9 22
23. This product is a fully automatic water production system. It is normal for the product to automatically start water production or cleaning during use or when it is not used for a long time.
precautions w9 24
24. A 220V power socket is required within 1.5 m of this product. Please ensure that the power socket and the adapter are located indoors to prevent the influence of humid weather on the product.

Product structure and name

product structure and name w9 3

Cartridge configuration

SNAbbreviationsName of filter elementEffectLife timeQty
1PC-CPP+carbon+carbon composite filter elementRemove sediment, rust, suspended matter, residual chlorine and odor from water and improve the taste.6-12 months1 pc.
2ROReverse osmosis membrane filter elementRemove bacteria, viruses, organic matters, heavy metals, ions, etc. from water.18-36 months1 pc.

Special tips:
1. The maintenance period of filter elements is not the quality guarantee period, but is an ideal maintenance period for filter elements based on raw water meeting the national standard for drinking water and normal household water.
2. The maintenance period of the filter element is the expected period. The actual maintenance period varies according to the usage area, water quality, usage amount and season. Only the proper replacement of filter elements can ensure clean drinking water.

Maintenance

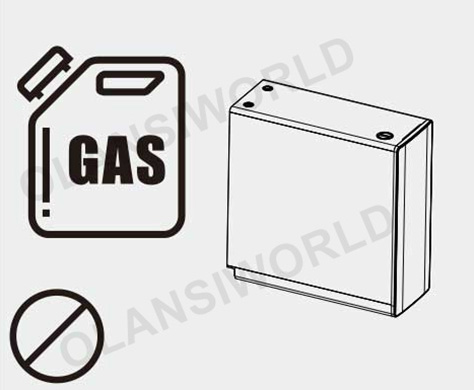
1. When cleaning and maintaining the product, do not use highly volatile solvents like soap, detergent, gasoline, ethyl alcohol, etc., or else cracks, scratches, and discoloration will be caused.
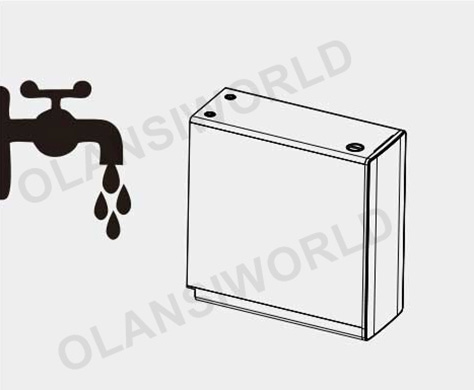
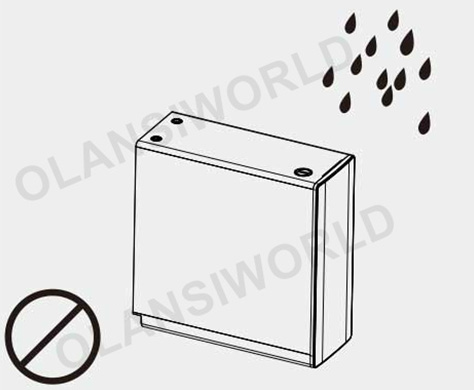
2. Do not clean the purifier by spraying water directly.
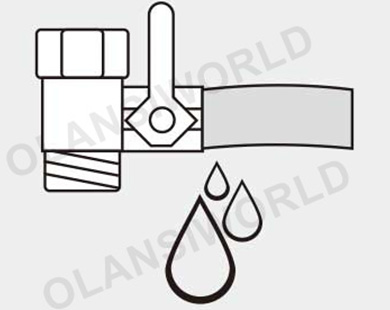
3. Detect whether there is accumulated water around the product and judge whether there is water leakage.
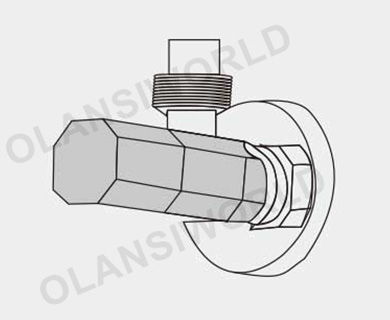
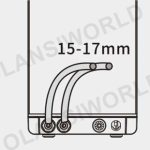
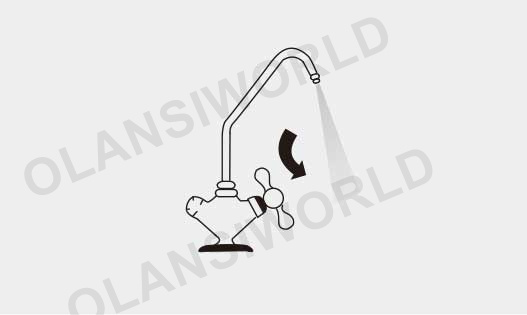
4. Check whether the outlet tap of the product has leakage.
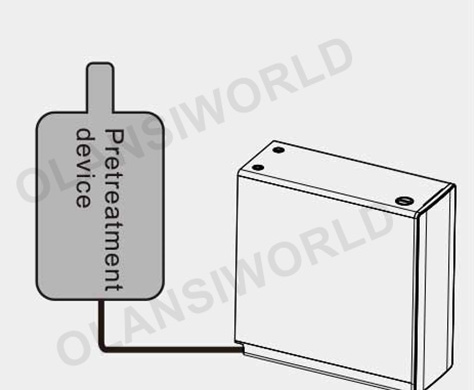
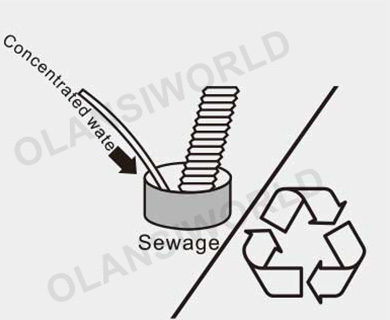
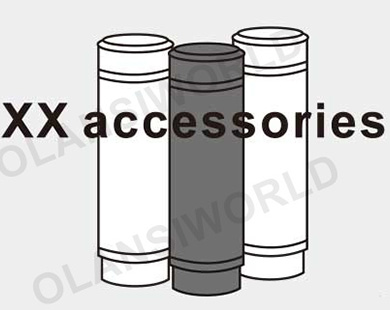
5. Check whether the concentrated water pipe is fixed without looseness.
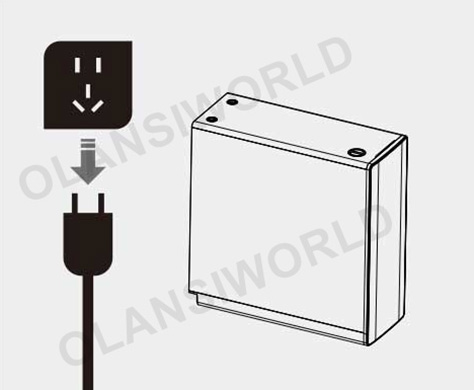
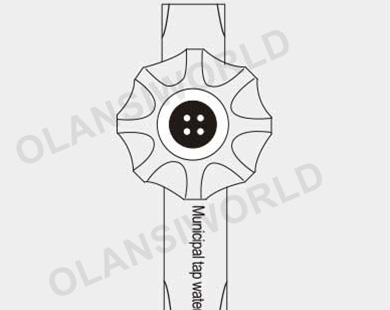
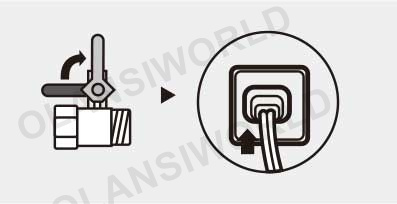
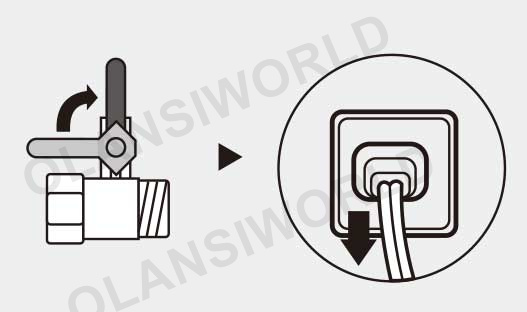
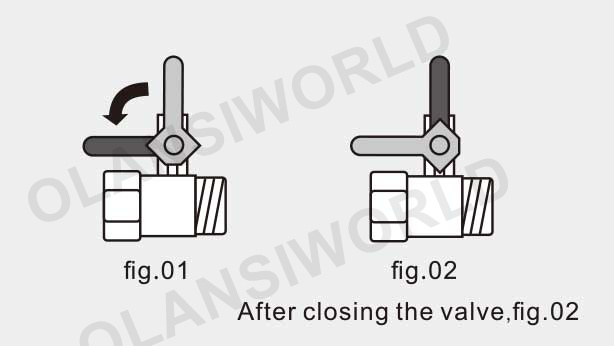
6. Before going out for a long time, check whether the product power and the water inlet switch (three-way ball valve) are closed.
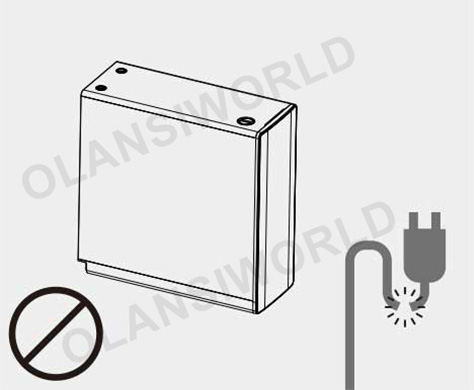
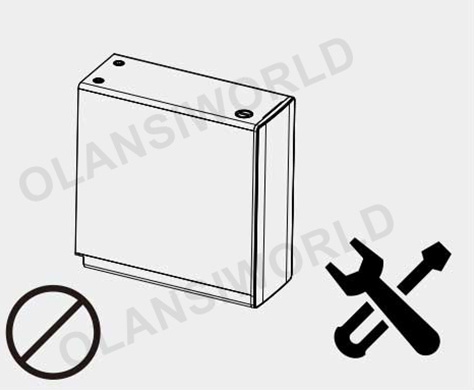
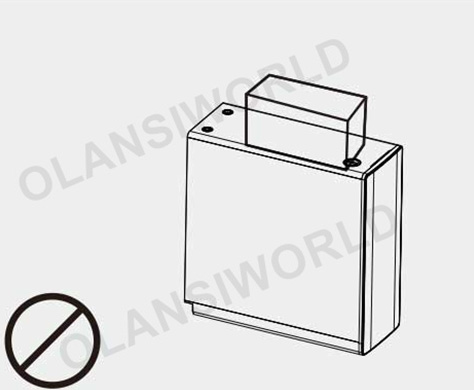
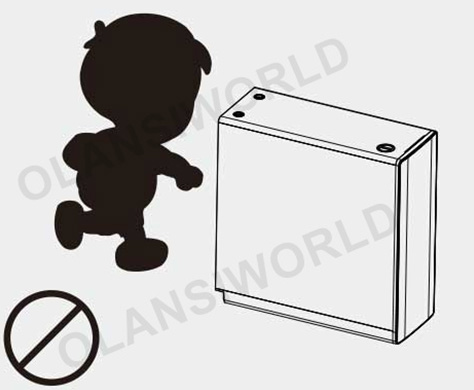
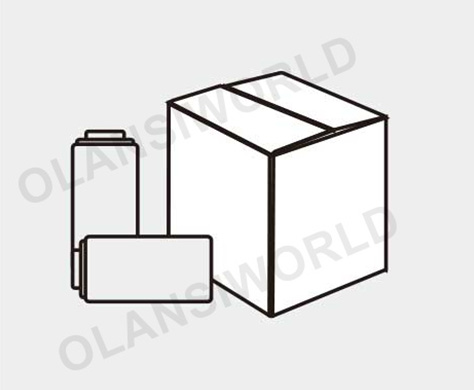
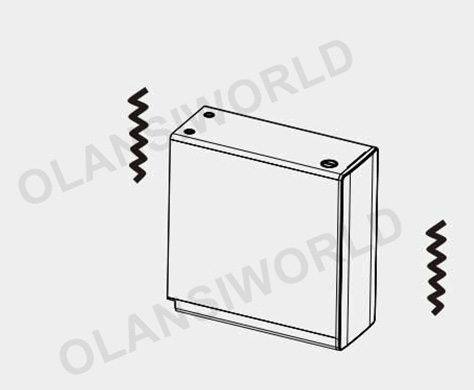
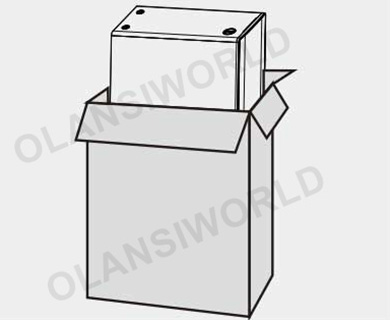
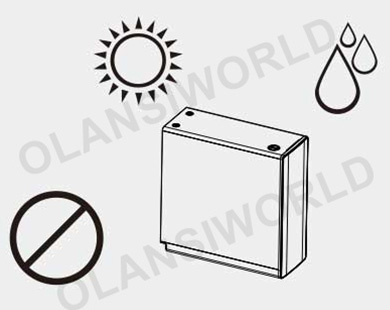
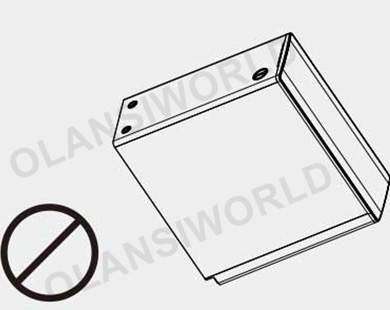
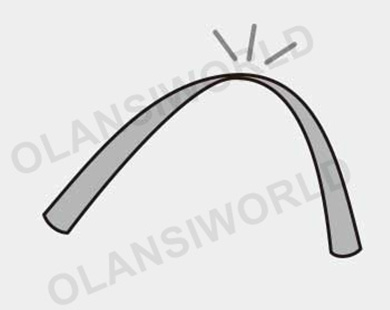
7. Do not put the product sideways, horizontally or upside down.
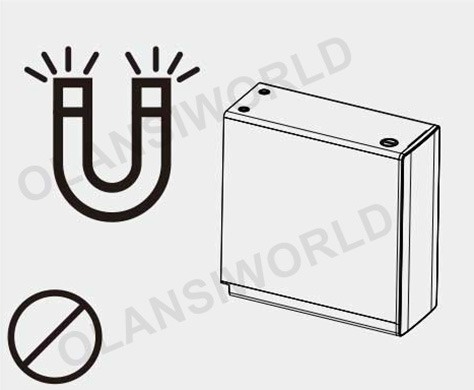
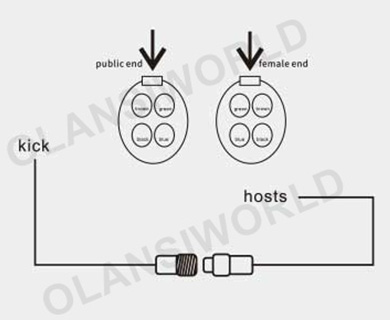
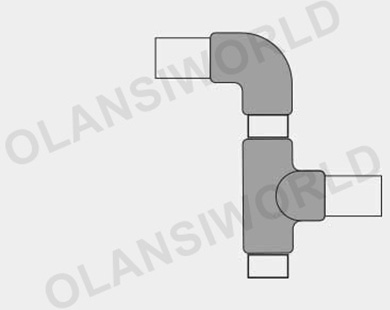
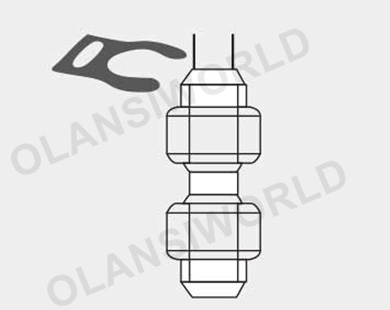
8. Do not change the product joints and pipes without authorization.
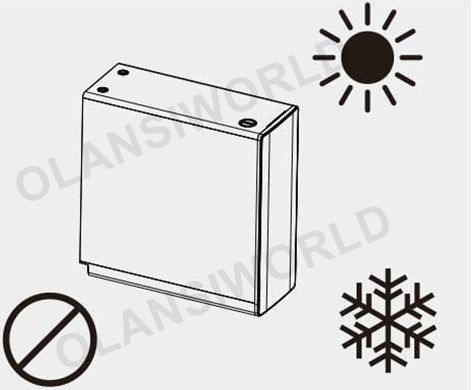
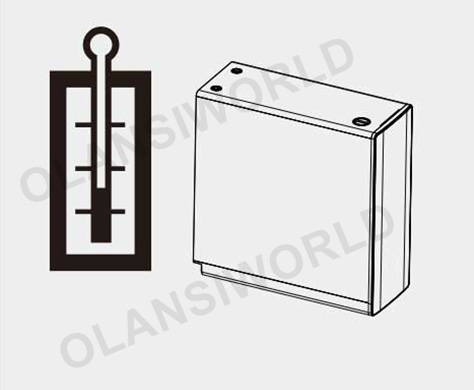
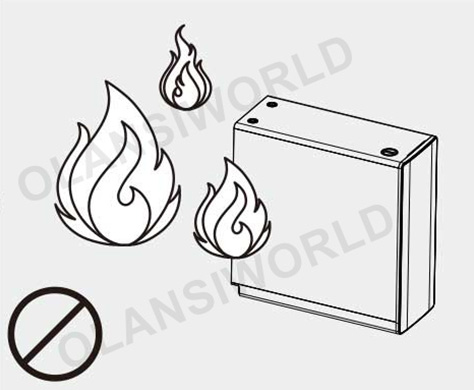
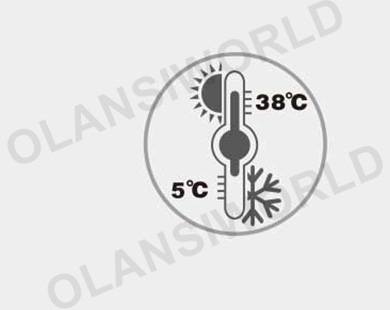
9. Do not place the product in an environment below 0°C.
10. Do not expose the product and the pipelines to direct sunlight.

Water treatment process diagram

w9 water treatment process diagram 1

Circuit schematic diagram

w9 circuit schematic diagram 1

Abnormal phenomenon self-test

The following are the judgment and inspection of common abnormalities. If simple treatment cannot eliminate them, please do not disassemble and repair the product without authorization to avoid danger or damage to the water purifier.
1. When the water purifier filters the water, the water pump may generate a slight noise while working. Please feel free to use it.
2. If there is any difficult problem during use, please refer to the following methods for troubleshooting. If the problem cannot be solved, please contact the dealer.

PhenomenaReasonSolution
No water or less flow1. The filter element is blocked.
2. The tap water pressure is lower.
Please cut off the water source and contact the dealer.
The filter element indicator flashesFilter cartridge life expiredIf the cartridge indicator lights up red, it means that the life of the cartridge has expired and the corresponding cartridge needs to be replaced.
Faults E1Continuous water production for 30 minutes1. The cartridge is clogged and needs to be replaced.
2. Poor flow meter; need to dismantle the machine to replace the flow meter or rework the repair
Faults E8Hydrogen-enriched water tank when the output water is hydrogen-enriched water TDS greater than 20 Times E81. Open the drain plug from the back of the machine.
2. Add pure water from the hydrogen-rich water tank to flush.
3. Install the drain plug.
4. Add pure water from the hydrogen-rich water tank.

Schematic diagram of water circuit installation

schematic diagram of water circuit installation

① Intelligent faucet; ② Basin; ③ Airframe; ④ Inlet ball valve; ⑤ Sewer; ⑥ Hydrogen-rich water tank drain

Complete Machine Installation

complete machine lnstallation w9 1
1. Take the product out of the packing box and place it under the cabinet.
complete machine lnstallation w9 2
2. Take out the inlet ball valve and install it on the angle valve.
complete machine lnstallation w9 3
3. Connect the pipelines and install the taps according to the schematic diagram for installation of the waterway (as shown in the right figure). See P9 for the large picture.
complete machine lnstallation w9 4
4. The concentrated water can be directly discharged to the sewer or recycled.
complete machine lnstallation w9 5
5. Put the faucet communication line and the host communication line, align the head connection, and torque the nut.

Installation Guidelines

installation guidelines w9 1
1. Pay attention to confirming the water source and the use range of products: Municipal tap water. Well water or underground water is not allowed to be used.
installation guidelines w9 2
2. Pay attention to confirming the water pressure at the inlet end. The water pressure range is 0.1-0.4 MPa. Pressure reducing valve must be installed if the water pressure exceeds the above range.
installation guidelines w9 3
3. Pay attention to confirming the temperature of the installation environment. The use temperature of the product is 5-38 °C.
installation guidelines w9 4
4. Pay attention to the installation position of the product, and choose to install it in the water inlet of cabinets, balconies and other water sources. It is strictly prohibited to install it in places exposed to direct sunlight or rain.
installation guidelines w9 5
5. Pay attention to checking whether the user's pipeline connecting the water purifier is reasonable and aging.
installation guidelines w9 6
6. Pay attention to ensuring that the insertion depth of PE pipe reaches 15–17 mm, measure the PE pipe before installation, mark the PE pipe, and then insert it into the machine. The insertion depth should reach the position of the black spot.
installation guidelines w9 7
7. Be sure to use the accessories provided by the company.
installation guidelines w9 8
8. Do not miss the tightness inspection of the three-way ball valve to confirm that there is no water seepage or leakage
installation guidelines w9 9
9. Do not put the product sideways, horizontally or upside down.
installation guidelines w9 10
10. Do not use the filter element that is not flushed. (The filter element should be flushed for 1–3 minutes.)
installation guidelines w9 11
11. Do not miss any connector pins.
installation guidelines w9 12
12. Do not fold the pipeline.
installation guidelines w9 13
13. Do not insert the waste pipe into the user's sewer without authorization, authorization, and be sure to fix the drainage pipe with ribbon.

Operating Instructions

Initial use

Start-up
1. Firstly, open the inlet ball valve and connect the tap water, and then power up the product.

initial use w9 1
2. The hydrogen-rich water tank is filled with purified water (e.g., Epsom water).
initial use w9 2
3. Buzzer “ding” three times; the lower two cartridge indicators are PCC/RO; all the display lights are fully displayed for three seconds; short press the Power button” to turn on the machine.
initial use w9 3
4. Short-press the rinse/reset button. Rinsing time: 4 minutes; rinsing will be drained from the faucet, please place the water container.

Daily use

Fault elimination

w9turn off

Turn off
1. Firstly, close the water inlet ball valve, then unplug the power supply.

w9 water intake

Water intake
2.Open the tap; at first there will be a trace of black water, which is a normal phenomenon.

Note: This is only available here when a new machine starts to flush the new cartridge. Machine commissioning

Machine commissioning

If an E8 error occurs, it indicates that the TDS of the pure water tank (water used in the electrolysis tank) is too high and needs to be replaced. Please replace it according to the following guidelines:
machine commissioning w9 1
1. Open the ball valve of the pure water tank to drain (about 1 minute), and close the ball valve after the drainage is completed.
machine commissioning w9 2

2. Rotate to unscrew the pure water tank cover, add pure water (note that pure water, not mineral water; it is recommended to join the lpoh pure water), then tighten the pure water tank.

machine commissioning w9 3
3. Turn on the machine by connecting the power; the machine will be automatically detected and can be used normally after clearing the fault code.

Filter cartridge replacement

filter cartridge replacement w9 1

1.PCC cartridge indicator light white/red.(white cartridge normal 0-79%,red light flashing use 80-99%,red often light expiry)

2.RO cartridge indicator light, white/red. (white cartridge normal 0-79%,red light flashing use80-99%,red often light expiration.)

filter cartridge replacement w9 2
3. Close the water inlet valve of the whole machine (matching required).
filter cartridge replacement w9 3
4. Remove front cover.
filter cartridge replacement w9 4 2

5. At the same time, press the faucet’purified water and’purified warm water button for 3 seconds, the machine enters the filter cartridge drainage mode (drainage 20 seconds), after the end of the drainage mode to turn off the power.

filter cartridge replacement w9 5
6. Press the front button to remove the cartridge ①/②.
filter cartridge replacement w9 7
7. Once the cartridge has been pulled out, remove the old cartridge. Dry the machine with a cloth, and place the new cartridge into the appropriate canister.
filter cartridge replacement w9 8
8. Hold the cartridge handle end and push it in until it clicks.
filter cartridge replacement w9 9
9. Close the front cover.
10. After the cartridge is replaced, turn on the power and water again, press the rinse/reset button briefly to manually rinse, rinse time 4 minutes, and then enter the normal working state.

11. Flush/Reset:Long press 3 seconds to enter the selection cartridge. The indicator light flashes, touch the cycle to select the cartridge PCC and then to RO, the selected cartridge flashes, long press 3 seconds the cartridge life reset.

Video about W9

W9 3D Video

W9 Installation Video

W9 details

More Posts

Table of Contents

请在浏览器中启用JavaScript来完成此表单。
OLANSI
OLANSI HEALTHCARE CO.,LTD
WhatsApp
邮箱

Need Help?

I’m Here To Assist You

Something isn’t Clear?


Feel free to contact me, and I will be more than happy to answer all of your questions.

WATER & Air Purifier Market Size, Share, Analysis, Forecast
Price Value $4000+

Enter you email below, so we can send you this valuable report.